a thoughtful gift for the holiday season
Spring hill hot pad
If you're looking for a thoughtful, handmade gift idea for the holidays? A quilted hot pad is both practical and heartfelt, making it an ideal choice for friends and family. Plus you can use your scraps for this project, especially for a fun backing.
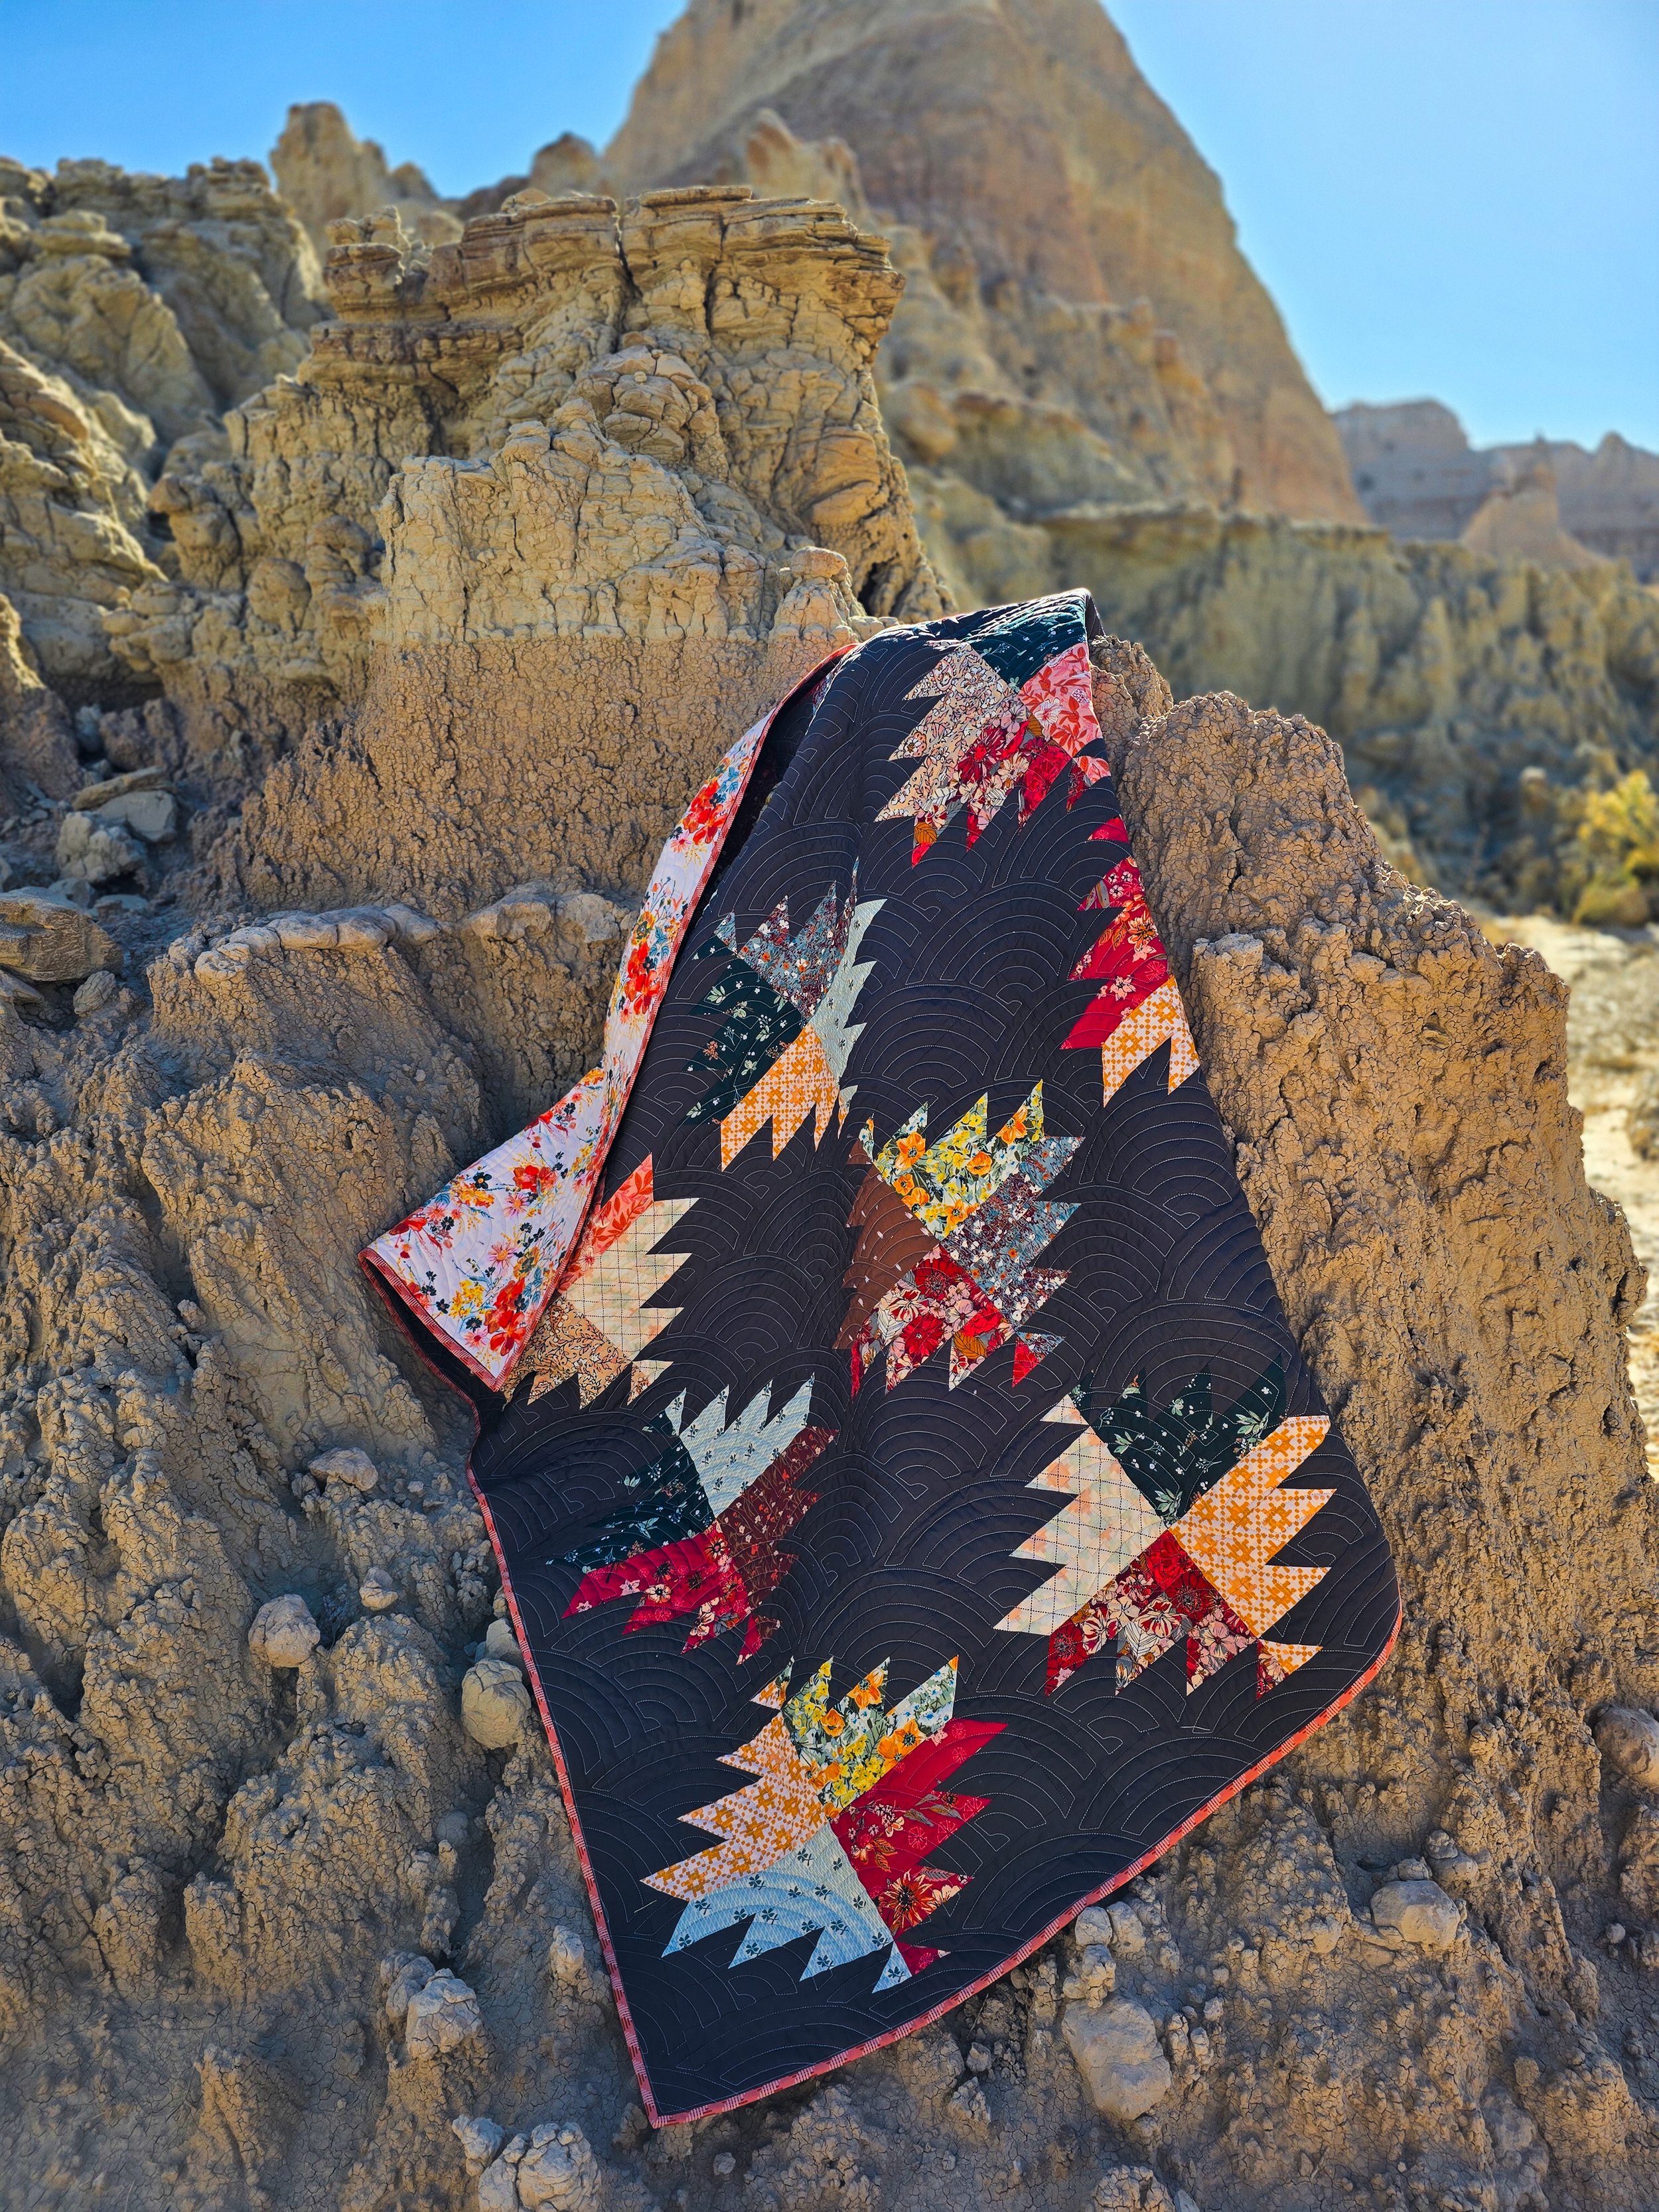
I had some leftover fabrics from this lap-sized Spring Hill Quilt. In case you missed it, the Spring Hill Quilt Pattern has been upgraded with a new lap size, along with options to add sashing and borders. The Spring Hill Hot Pad is an extension of the Spring Hill quilt pattern. You'll need the original pattern to assemble the block for this project.
Fabric and cutting
I chose to use the prints from Kismet, Juniper, and Shine on - beautiful fabric collections by Sharon Holland Designs.
CUTTING:
Background Fabric (Brown): (2) 5 1/2" x 5 1/2", Side Borders: (2) 1" x 6 1/2", Top & Bottom Borders: (2) 2 1/2" x 10 1/2", Hanging Tap (optional): (1) 2" x 5"
Accent Fabrics (Green & Red): (2) 5 1/2" x 5 1/2" (one square from each print)
Backing Fabric: (1) 11" x 11"
Insul-Bright Batting: (1) 11" x 11" (I didn’t have Insul-Bright on hand, so I used 3 layers of cotton batting instead)
Make a spring hill block
Follow the instructions in Spring Hill Quilt Pattern to make one Spring Hill block.
Pair (2) BG fabric squares with (2) Accent squares to make 4 half square triangles (HSTs).
Press and trim the HSTs to 5" x 5".
Cut each HST into (4) 1 1/4" x 5", paying close attention to the orientation of the HST before cutting.
Assemble your Spring Hill block. The block measures 6 1/2" x 9 1/2".
Sew (2) side borders to both sides of the block. Then Sew the top and bottom borders to the block. Press the seams toward the borders.
The block measures 10 1/2" x 10 1/2".
Assemble the hot pad
Lay the batting right side up, then the Spring Hill block on top of the batting, right side up.
Quilt as desired. I marked my block with a hera marker and chose to quilt it with crosshatch quilting, spaced about 1" apart. Trim off the excess.
Hanging tab (optional). Fold the fabric strip in half lengthwise, wrong sides together, and press to create a crease down the middle. Open the strip, then fold each long edge toward the center crease, enclosing the raw edges inside, and press. Topstitch with a 1/8" seam.
Attach the hanging tab (optional). Fold the strip in half to form a loop. Place the raw edges of the folded tab on the top of your project where you'd like the hanging tab to be positioned, right sides together. I placed mine in the upper right corner.
Place the backing on top of the quilted block, right sides together.
Sew along the edges with a 1/4" seam, leaving a 4" gap for turning.
Turn the hot pad right side out, press, and topstitch.
Enjoy your Hot Pad!
This will be really cute with a festive spatula and gourmet scone mix, don't you think?
I hope you enjoy making this Spring Hill hot pad as much as I do. Remember to tag me on Instagram @Thaicharmllc, so I can see your wonderful creations!
Download this tutorial as a PDF below
What’s happening on the ‘Gram …


